Turn Tonight’s Sky Into a Plan You Can Actually Use
What is in the sky tonight depends on three details that a universal headline cannot supply: your location, your local time, and the conditions above you. A planet may be easy to see from one city while already setting in another, and a famous meteor shower may be less rewarding than a bright Moon on a hazy evening. This guide gives you a repeatable way to find tonight’s worthwhile sights without pretending that the same objects are visible everywhere. You will learn how to set a sky map correctly, choose a realistic target, recognize the limits of your horizon, and check what you think you have found. The aim is a useful first observation rather than a crowded checklist. With a little preparation, an ordinary evening can become an opportunity to understand the moving sky from the place where you actually live.
Set Your Location Before Looking at a Chart
Open a location-aware map such as Stellarium Web, or use a current observatory chart made for your region. Enter your city or coordinates and confirm that the displayed location matches your observing site. A map left on a travel destination can still look convincing while giving you the wrong horizon. Inspect the selected date and time zone as well as the city, especially after travel or a change between daylight and standard time.
Location matters because Earth is curved and different latitudes face different portions of the celestial sphere. Some star patterns climb high for one observer and remain near or below another observer’s horizon. A useful chart should therefore show the sky you can potentially see, not simply a generic illustration of a constellation. Start with the local horizon view, then explore more detailed charts once the overall orientation makes sense.
If you prefer not to share precise coordinates, a nearby city is often sufficient for a first look at broad planet and constellation visibility. More exact circumstances matter for events with narrow geographic limits, such as some occultations or eclipse phases. Match the precision of the location to the task. You should understand why a tool needs more detail before assuming that every casual observing session demands an exact address.
Choose an Observing Time, Not Just a Date
The sky changes noticeably through the night as Earth rotates. A target shown prominently at midnight may still be below the horizon when you step outside after dinner. Set the chart to the time you actually plan to observe, then move forward a little to see whether your target is rising, approaching a better position, or disappearing behind the horizon. This simple preview turns a static map into a practical planning aid. Also check whether the selected time includes daylight saving time where it applies. If the chart shows a sky full of stars while your intended observing hour is still bright twilight, revisit the settings before deciding that the real sky is behaving unexpectedly.
Let the Moon Shape Your Target Choice
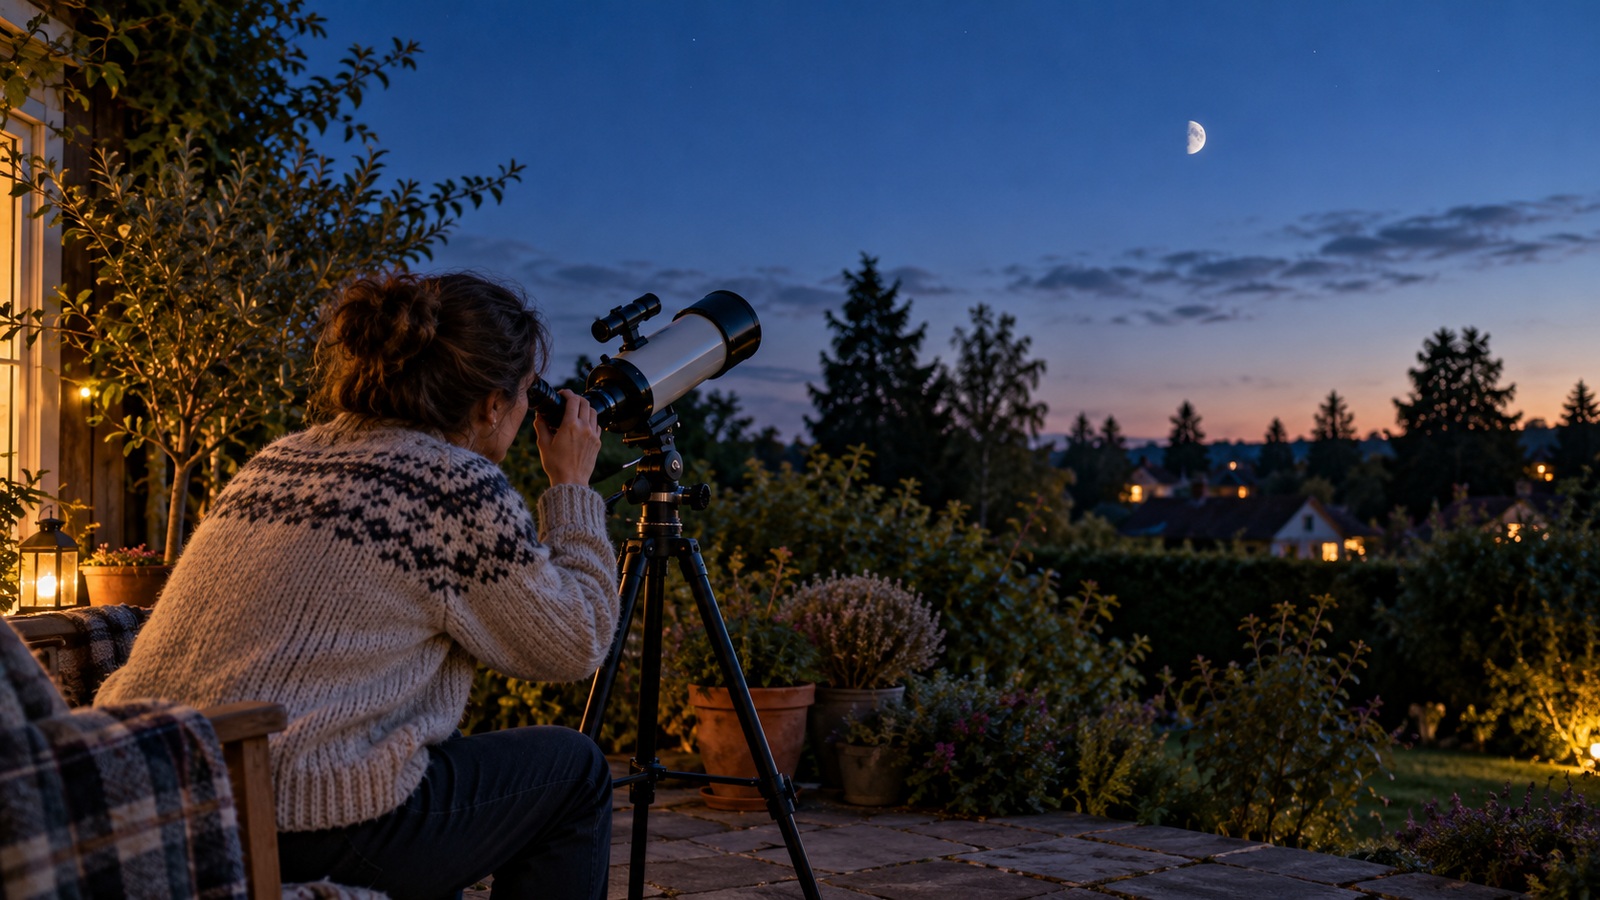
The Moon can be tonight’s main attraction or a source of background light that changes other plans. A bright Moon is easy to recognize and can make a short first session satisfying even from a populated area. Its position and phase determine when it is available, so check moonrise and moonset instead of assuming that it appears every evening. There are many nights when the best lunar view occurs at a different hour from the one you first considered.
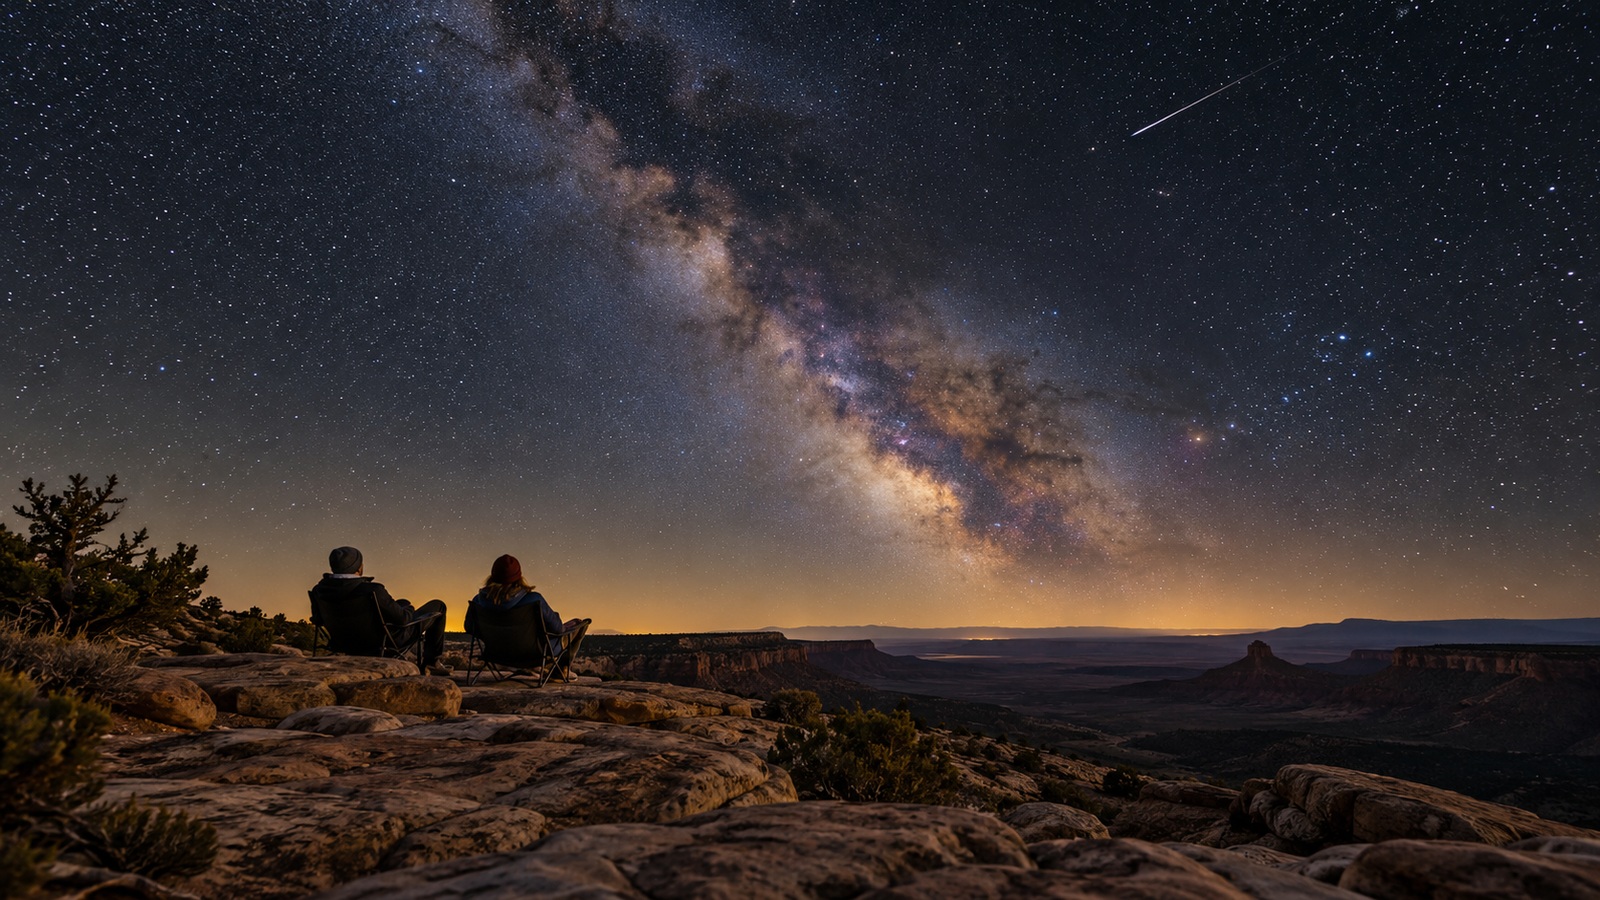
If you want faint star fields or meteors, lunar brightness deserves more attention. A trip away from streetlights does not remove light scattered through the sky by the Moon. Look for a useful interval before moonrise or after moonset, if one fits your schedule. When no such interval is practical, choose a brighter target and leave the faint-sky plan for another night rather than treating the evening as a failure.
Inspect the Horizon You Really Have
A chart’s geometric horizon is usually much cleaner than the one outside your door. Trees, buildings, hills, and nearby lights can hide exactly the part of the sky you need. Visit your observing spot before dark when possible and identify an open direction. A planet that is technically visible but barely above a roof may be an awkward first target.
Altitude means an object’s angle above the horizon, while azimuth describes its direction around the horizon. You do not need to master numerical coordinates immediately, but those concepts explain why a map can be correct even when you cannot see the object. A target low in the southeast is not interchangeable with one high in the south. Use a few clear landmarks to translate the chart into the actual scene.
Check orientation carefully if a device uses a compass display. Nearby metal, structures, and calibration problems can make a pointing guide unreliable. Confirm the general direction using familiar landmarks or a separate reliable method, then compare the chart’s star pattern with what is visible. The device should help you observe rather than replace the act of checking whether its overlay matches the sky.
Pick One Bright Target First
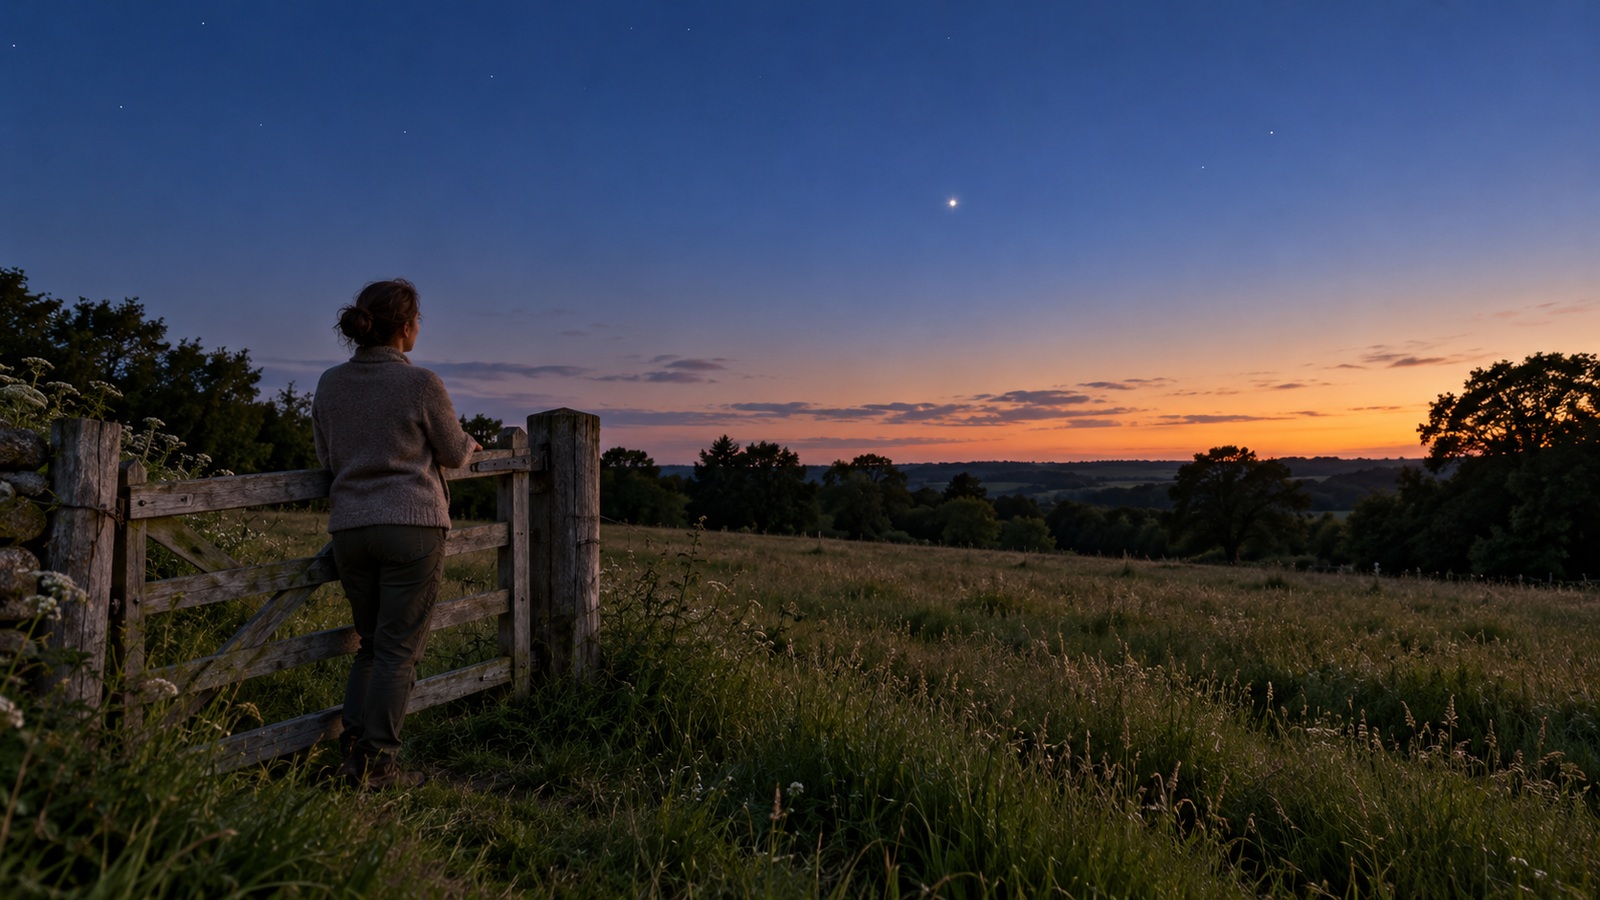
A first target should be distinctive enough that you can recognize success. The Moon, a currently visible bright planet, or a prominent star pattern can work well, depending on the date and location. Avoid beginning with a faint object merely because a photograph makes it look spectacular. A successful identification gives you a reference point from which nearby objects become easier to find. Once you have located the target, look away from the screen and return your attention to the real scene. Notice its brightness, position, and relationship to the horizon. Those simple observations provide a stronger foundation than rapidly checking off names you have not learned to recognize independently.
Confirm the Bright Point Before Naming It
A bright object is not automatically Venus, Jupiter, or a satellite. Compare its position with a current map and look for the surrounding pattern. The nearest recognizable stars can be more helpful than brightness alone, especially when haze changes the appearance of objects near the horizon. If the identification remains uncertain, describe the observation accurately and leave the name unresolved until you can check it.
Motion offers another clue, but use it carefully. An aircraft, satellite, meteor, and planet do not share the same apparent behavior over a short interval. A meteor is brief; a satellite can move steadily across the scene; an aircraft may show changing or flashing lights. A planet’s motion against the stars is usually something you compare over longer periods. No single clue is perfect, so combine position, duration, motion, and a reliable prediction where available.
Check Whether a Special Event Is Locally Useful
After choosing a dependable target, see whether tonight offers a shower, pairing, eclipse, or predicted pass that fits your observing window. Read beyond the event’s name and date. You need local circumstances, a plausible observing direction, and enough darkness for the relevant sight. A globally interesting event may be invisible or inconvenient from your site.
For a meteor shower, the peak is not a guaranteed burst timed to your arrival. You should know whether the radiant is above the horizon, how moonlight affects the sky, and whether you can watch comfortably for a meaningful interval. For a close pairing, check whether twilight or a low horizon makes it difficult. The additional checks are what turn a general event listing into a plan.
Be particularly cautious with “tonight only” claims copied from older articles or social posts. Confirm the year and the time zone, and compare the claim with a current astronomical source. An attractive image can continue circulating long after the event it originally illustrated. NASA’s skywatching resources provide a useful starting point for current guidance, but your final decision still needs your own location and observing time.
Read the Weather for the Kind of View You Want
A forecast that promises no rain does not necessarily promise a transparent sky. Thin cloud, haze, smoke, and local lighting can reduce contrast, while unstable air can make magnified views shimmer. Decide what conditions matter for your target. A bright Moon may remain enjoyable when a faint star field is disappointing. A short gap in cloud may be enough to identify a planet, while a patient meteor watch benefits from a wider, more sustained clear area. Keep the plan proportional to the forecast rather than assuming every observing activity needs either perfect conditions or none at all.
Work Through One Map Search Before Going Outside
Try this with the Moon because its name and appearance are easy to recognize. In Stellarium Web, select the city where you will observe, choose tonight’s date, and set a convenient local hour such as 8 p.m. Search for the Moon and examine its position relative to the horizon. If the model places it below the horizon, moving your chair will not solve the problem: preview a different hour or choose another bright target. If it is above the horizon, identify the compass direction and approximate height, then compare those with the trees and buildings at your site. The official Stellarium guide explains the same underlying location-and-time principle for the desktop program; control layouts can differ between versions.
Turn the result into an instruction you could follow without a screen. For an invented coordinate example, a target at azimuth 135 degrees and altitude 35 degrees is southeast and partway up the sky, not near the zenith. These values illustrate reading a display; they are not tonight’s Moon prediction. Your own search supplies the actual values. Advance the model by an hour and see whether your available view improves or becomes blocked. Then write a short plan such as “find the Moon above the open southeast corner at the selected hour,” using the direction your map actually reports. That sentence connects the software output with a real observing action.
Diagnose a Failed Search in a Useful Order
If the sky does not resemble the preview, check the input before changing your identification. Confirm city, date, local hour, time zone, and viewing direction; then inspect twilight, cloud and obstructions. A whole scene facing the wrong direction suggests an orientation problem, while one missing low object can be explained by a roofline. Search a second bright landmark to test the general match. Avoid compensating for a bad setting by deciding that every visible point must be whichever label is nearest your device’s overlay. For a special 2026 event rather than a general sky tour, use our dated celestial calendar to establish the right night before repeating the local search.
Finish With a Record You Can Check Tomorrow
Write the local date and time, your approximate location, and a short description of what you found. Include the observing direction and any obvious limitations such as a blocked horizon or bright Moon. A simple sketch can preserve the relationship between objects more efficiently than a long written account. It does not need to resemble a polished star atlas to be useful.
Mark uncertain identifications clearly. If you later discover that a bright point was a star rather than a planet, correcting the record strengthens the learning rather than spoiling it. You can also use the record to plan the next evening: return at the same time to compare the view, or choose a later hour to see what changes. Repeated small checks build confidence faster than demanding a remarkable discovery every night.
The answer to “what is in the sky tonight?” is therefore both specific and learnable. A current chart supplies the predictions; your location, horizon, and weather determine what is available; your own attention turns those possibilities into an observation. Start with one clear target and one realistic window. Over time, tonight’s unfamiliar sky becomes a place where you recognize landmarks, notice changes, and know how to investigate what you have not yet identified.